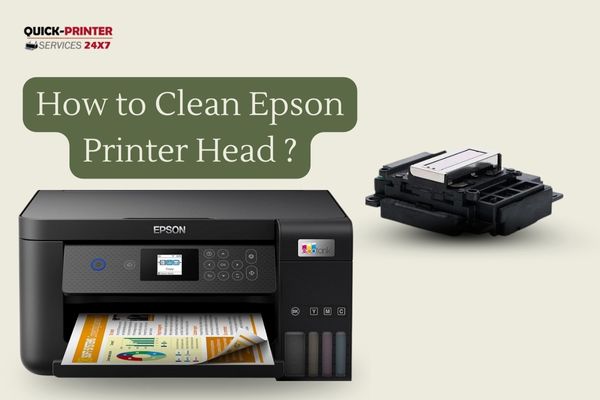
Epson printers are renowned for their high-quality prints, but occasionally, you might notice a decline in print quality due to a clogged printhead. This guide will walk you through the process of cleaning the Epson printer head to restore optimal printing performance.
Why clean your Epson printer head?
Over time, ink residue can build up on the printhead nozzles, leading to issues like streaks, faded prints, or gaps in the printout. Cleaning the printhead is essential for maintaining print quality.
Before you begin:
- Check Your Warranty: Cleaning the printhead might void the warranty if your printer is still under warranty. If unsure, refer to your printer’s documentation or contact Epson support.
- Gather Supplies:
- Distilled water or a specific cleaning solution is recommended by Epson.
- Lint-free cloth or cotton swabs.
- Protective gloves are needed to avoid getting ink on your hands.
Cleaning the Epson Printer Head:
Method 1: Using the Printer’s Built-in Cleaning Utility
- Access the cleaning utility:
- On your computer, go to the Epson printer utility or settings.
- Locate the “Head Cleaning” or “Nozzle Check” option.
- Follow Prompts:
- The utility will guide you through the process, often asking you to print a test page before and after cleaning.
- Evaluate Results:
- Check out the test page. If print quality improves, your printer head is likely clean. If not, proceed to the next method.
Method 2: Manual Cleaning
- Turn off the printer.
- Ensure the printer is turned off to avoid any accidents during the cleaning process.
- Access the printhead:
- Open the printer cover to access the printhead.
- Remove ink cartridges:
- Safely remove the ink cartridges from the printhead.
- Dampen the cloth or swap:
- Moisten a lint-free cloth or cotton swab with distilled water or the recommended cleaning solution. It should be damp, not soaked.
- Clean Gently:
- Wipe the printhead surface gently to remove dried ink. Do not use excessive force, as this might damage the printhead.
- Allow to Dry:
- Let the printhead and surrounding areas dry completely.
- Reinstall Cartridges:
- Reinstall the ink cartridges once everything is dry.
- Print a Test Page:
- Print a test page to check if the cleaning improved print quality.
Tips:
- Regular Maintenance: Perform printhead cleaning regularly to prevent severe clogs.
- Use Genuine Ink: Use Epson-approved ink cartridges to ensure optimal printer performance.
- Professional Help: If manual cleaning doesn’t resolve the issue, consider seeking professional assistance or contacting Epson support.
Conclusion:
how to clean Epson printer head is a straightforward process that can significantly enhance print quality. If you encounter persistent issues or are unsure about any steps, it’s advisable to consult the printer manual or contact Epson support for guidance.
At Quick Printer Services, we understand the importance of a smoothly functioning printer. If you face challenges beyond this guide, feel free to contact our phone support 1-800-319-5804. We’re here to assist you in maintaining optimal printing performance.