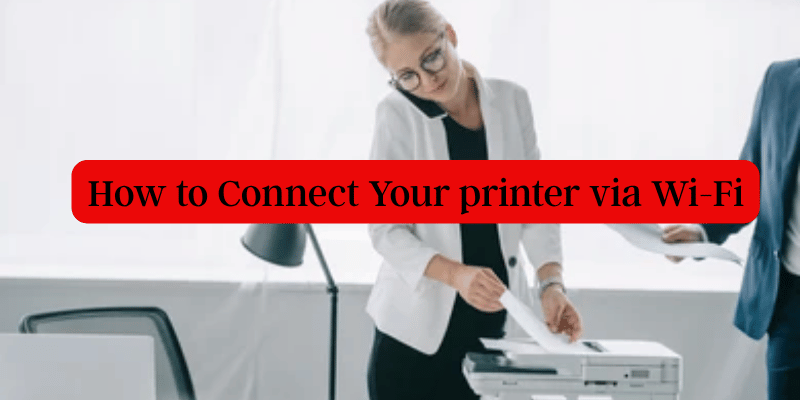
Wi-Fi printer connectivity is necessary for many people. Say you intend to purchase one soon. In that scenario, you might want to consider purchasing a wireless printer, which eliminates the need for extra wire and allows you to print from anywhere in your home. This provides you with extra room on your desk and enables you to place your printer in a convenient location. However, keep in mind that installing and configuring a Wi-Fi printer requires a little more effort. You must understand how to connect printer to Wi-Fi for this reason.
But don’t worry; at Asurion, we assist millions of consumers every day with their tech woes, from repairing an overheating laptop to resolving hotspot problems. Here are our recommendations for how to connect a printer to Wi-Fi if you have an Epson®, Canon®, or HP® equipment.
NOTE: Not all models may respond to these steps.
Verify the printer’s settings.
This is how to check and configure it on a Mac® or WindowsTM computer:
HOW TO CHECK THE WINDOWS PRINTER SETUP ?
- After turning on your printer, choose “Start” on your computer.
- Go to Settings > Devices > Printers and scanners.
- Choose Add a printer or scanner and wait for it to locate nearby printers if you don’t see your printer listed.
- Choose a printer (look for the manufacturer’s name and model number).
- If necessary, choose “Add device” and input the password.
HOW TO CHECK THE MAC’S PRINTER SETUP ?
- On your computer screen, click the Apple menu in the top-left corner.
- Choose Printers & Scanners or System Preferences > Print & Scan.
- In the Usage area, select the software or driver for your printer, and then click Add.
Use a wireless setup wizard to connect your printer.
You can use your printer’s wireless setup wizard tool to connect it to Wi-Fi if it has a touchscreen. This is how:
HOW TO USE WI-FI TO CONNECT YOUR HP PRINTER ?
- After selecting Setup, select Network or Wireless Settings.
- the Wireless Setup Wizard option.
- Choose your network’s name, then type your password.
WI-FI TO CONNECT YOUR HP PRINTER ?
- After selecting Setup, select Network or Wireless Settings.
- the Wireless Setup Wizard option.
- Choose your network’s name, then type your password.
HOW TO USE WI-FI TO CONNECT YOUR EPSON PRINTER ?
- Put your finger on the control panel’s home button.
- Click Wi-Fi Setup, then hit OK.
- Once the Wi-Fi Setup Wizard opens, hit OK once again.
- Press OK after selecting your Wi-Fi network from the screen.
- After entering your password, click OK.
- Once you’re connected, you’ll see “Setup Complete” on the screen.
USE WI-FI TO CONNECT YOUR CANON PRINTER?
- Ensure that the printer is turned on and inside the Wi-Fi network’s coverage area.
- On the touchscreen, press and hold the home button before pressing and holding the Wi-Fi button.
- Hit OK after pressing the LAN/WLAN setup button.
- From the list, choose your Wi-Fi network, type your password, and then click OK.
- Once you’re connected, the Power and Wi-Fi lights will cease flashing.
Use WPS to connect your printer to Wi-Fi.
Using the Wi-Fi Protected Setup (WPS) mode on your device, you can also connect a printer to Wi-Fi. With the help of this technique, you can join a wireless network without knowing its name. To finish these tasks, just make sure your wireless router is close by.
HOW TO USE WPS TO CONNECT YOUR HP PRINTER TO WI-FI ?
Ensure that your printer is turned on and accessible via your Wi-Fi network.
Set your printer’s connection mode to WPS.
- For five seconds or until the wireless light flashes, press and hold the wireless button.
- Press and hold the Wi-Fi and Power buttons for five seconds on the DeskJet 6000/6400 and Envy 6000/6400 models to get the blue bar to flash.
- Press and hold the WPS button on the router for about a minute or until the Wi-Fi light starts to blink. You’re connected when the LED stops flashing.
HOW TO USE WPS TO CONNECT YOUR EPSON PRINTER TO WI-FI ?
- Ensure that your printer is turned on and accessible via your Wi-Fi network.
- Your router’s WPS button should be pressed.
- Press the Home button on the printer to begin.
- Click Wi-Fi Setup, then hit OK.
- Press Yes after selecting Push Button Setup (WPS).
- Follow the instructions on the printer’s screen to complete the setup.
- To finish the configuration, adhere to the directions displayed on the printer’s screen.
You’re ready to go when a Wi-Fi icon with green connection bars appears in the top-left corner of the screen.