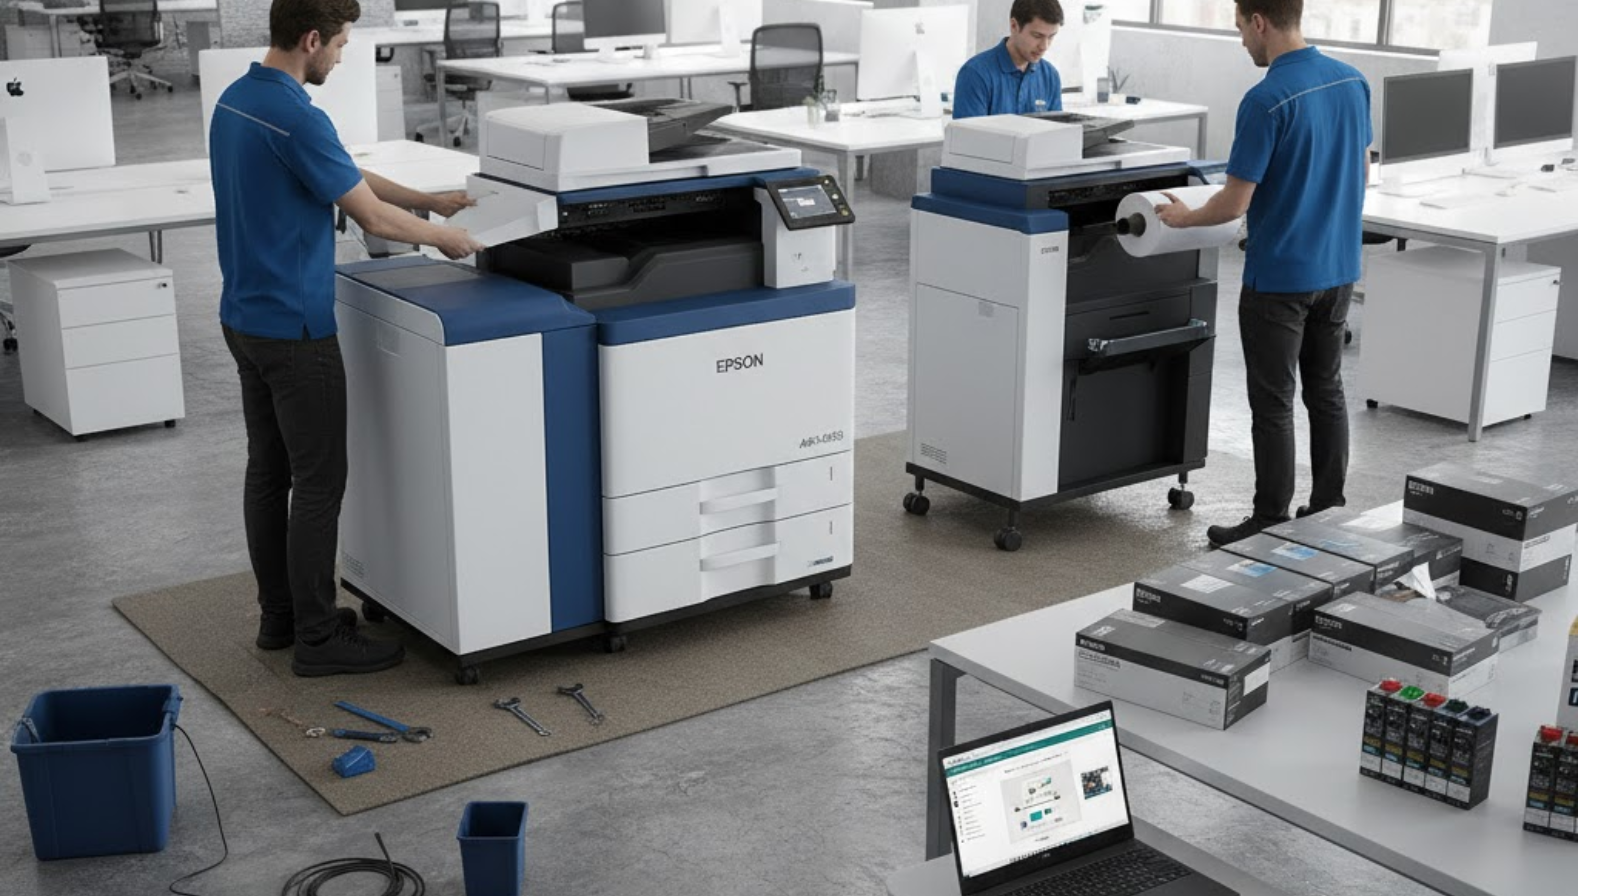
Setting up your Epson AM-C4000 Series Printer for the first time doesn’t have to be complicated. Whether you’re installing it in a home office or a business environment, this step-by-step guide will help you get your printer running smoothly. From unboxing to wireless configuration, we cover everything you need to ensure a hassle-free Epson printer setup.
Why Choose the Epson AM-C4000 Series?
The Epson AM-C4000 series offers:
- High-speed color printing
- Low power consumption
- Advanced security features
- Easy network integration
- Superior image quality
This makes it ideal for professional environments needing reliable and efficient printing.
Step-by-Step Guide to Setting Up Your Epson AM-C4000 Series Printer
Unbox and Prepare the Printer
Remove all packaging tapes and protective materials. Check for included items:
- Power cable
- Installation guide
- Ink cartridges / Replaceable unit
Connect the Power and Turn It On
- Plug the power cord into the printer.
- Connect to a power outlet.
- Press the power button to start the printer.
- Choose your preferred language, region, and other basic settings on the display.
Install Ink Packs or Replaceable Units
The Epson AM-C4000 uses high-capacity ink systems for efficiency.
- Lift the ink compartment cover.
- Gently insert the ink packs into the correct color slots.
- Secure them in place and close the cover.
- Allow the printer to initialize the ink charging process.
Load Paper into the Tray
- Pull out the paper cassette.
- Adjust the paper guides.
- Insert A4, letter, or legal-size paper.
- Slide guides back to fit tightly.
- Reinsert the tray into the printer.
More:-Epson’s Printing and Scanning Solutions
Install Epson Printer Drivers
To ensure full functionality, install the official driver package.
Install on Windows
- Visit the Epson Support website.
- Search for Epson AM-C4000 Series.
- Download the Driver & Utilities Combo Package.
- Run the installer and follow the on-screen steps.
Install on macOS
- Go to Epson Support.
- Download macOS drivers.
- Install and provide necessary permissions.
Connect the Printer to Wi-Fi or Network
You can set up your Epson AM-C4000 using three connectivity options.
Wireless Wi-Fi Setup
- On the printer screen, go to Home > Settings > Network Settings.
- Choose Wi-Fi Setup Wizard.
- Select your Wi-Fi network.
- Enter the password.
- Wait for connection confirmation.
Epson Mobile Setup
Use the Epson Smart Panel App:
- Install the app on your Android or iPhone.
- Connect your phone to Wi-Fi.
- Add your Epson AM-C4000 series printer.
- Complete guided setup.
Print a Test Page
Once connected:
- Open Printer Settings on your computer.
- Select Print Test Page.
- Ensure colors and text appear correctly.
If issues appear, check alignment and ink levels.
Conclusion
Setting up your Epson AM-C4000 Series Printer is simple when you follow the right steps. With proper driver installation, correct network configuration, and initial calibration, your printer will deliver high-quality performance for years.