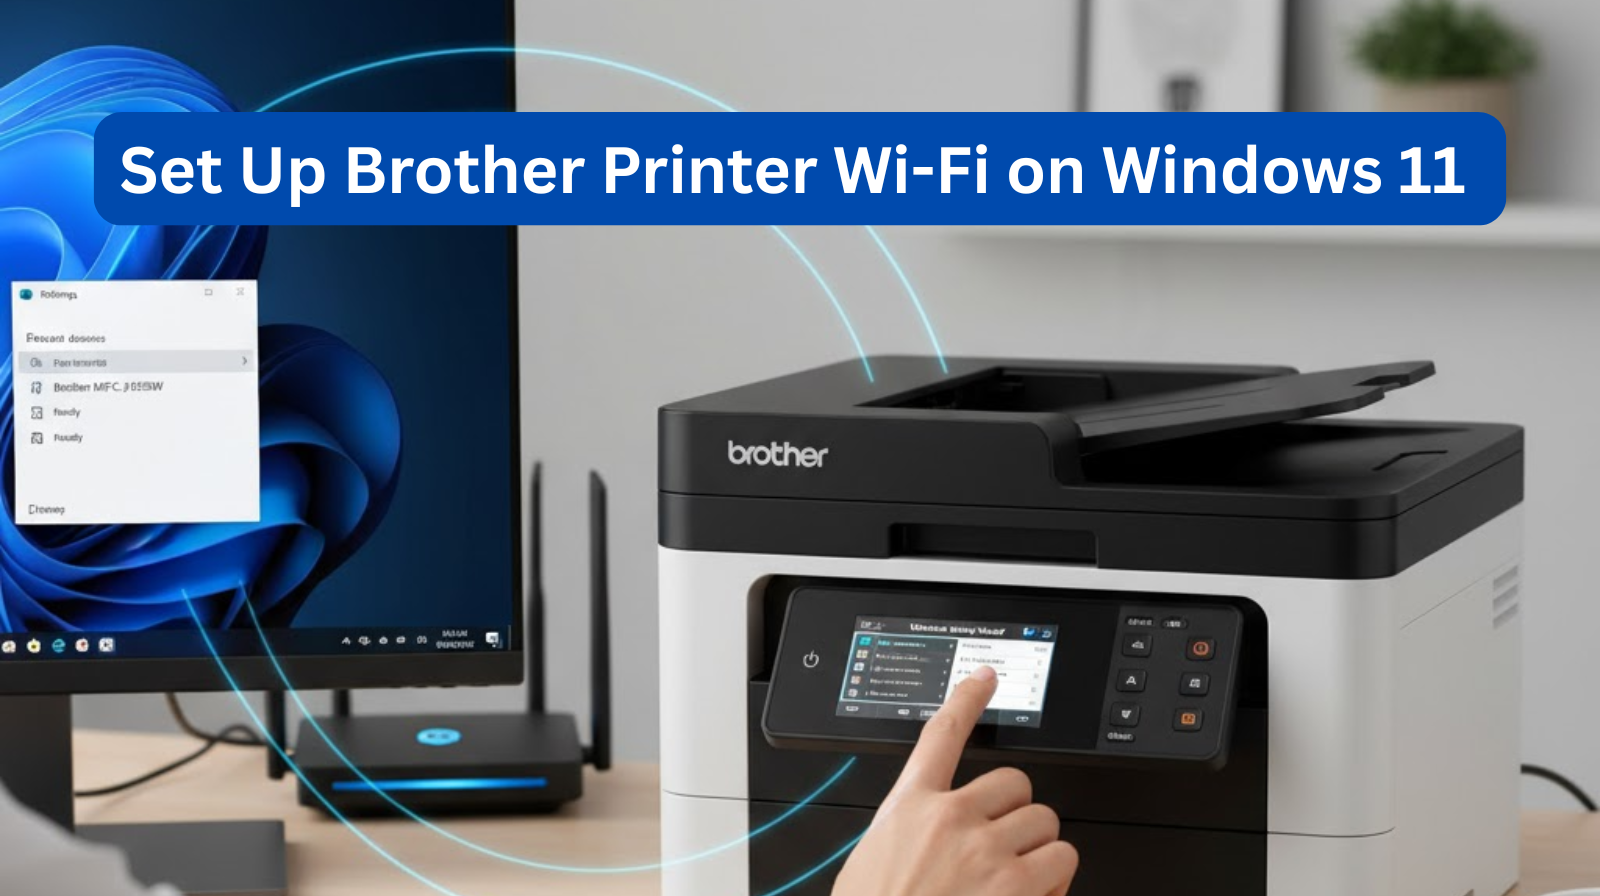
Setting up a Brother printer on Wi-Fi in Windows 11 is easier than you might think. Whether you’re using a new printer or reconnecting after a network change, this step-by-step guide will help you get your Brother printer online quickly. Follow the instructions below to ensure a smooth and hassle-free setup.
Why Connect Your Brother Printer to Wi-Fi?
Connecting your Brother printer wirelessly allows you to:
- Print from any room without cables
- Use mobile printing apps
- Share the printer across multiple devices
- Reduce clutter and improve convenience
Wi-Fi setup is the best way to get the most out of your Brother printer.
Step-by-Step: Set Up Brother Printer Wi-Fi on Windows 11
Step 1: Prepare Your Brother Printer for Wi-Fi
Before configuring the printer in Windows 11, make sure the printer is ready.
1. Turn on your Brother printer.
Ensure it has enough ink/toner and paper.
2. Connect the printer to your Wi-Fi network.
Most Brother printers have a Wi-Fi setup option on the display panel.
On touchscreen models:
- Tap Menu → Network
- Select WLAN → Setup Wizard
- Choose your Wi-Fi network name (SSID).
- Enter your Wi-Fi password.
- Confirm the connection
On non-touch models:
Use the arrow keys to navigate:
- Menu → Network → WLAN → Setup Wizard → Select Wi-Fi → Enter Password
You should see Connected or a Wi-Fi icon on the printer’s display.
Step 2: Download and Install Brother Printer Drivers on Windows 11
Installing the correct drivers ensures smooth printing.
- Open your browser and go to Brother Support (search “Brother printer drivers”).
- Enter your printer model (e.g., Brother HL-L2350DW).
- Select Windows 11 and download the Full Driver & Software Package.
- Run the installer and follow the on-screen instructions.
- Choose Wireless Network Connection when prompted.
Step 3: Add the Brother Printer to Windows 11
Once the printer is on the same Wi-Fi network, add it in Windows.
- Open Settings (Windows + I).
- Click Bluetooth & Devices.
- Select Printers & Scanners.
- Click Add Device.
- Windows will search for available printers.
- Select your Brother printer from the list and click Add.
Your printer should now be successfully connected to Windows 11.
Troubleshooting: Brother Printer Not Connecting to Wi-Fi?
If your Brother printer isn’t showing up on Windows 11, try these fixes:
✔ Check Wi-Fi Signal
Place the printer close to the router.
✔ Restart Printer & Router
A quick reboot often resolves Wi-Fi issues.
✔ Ensure Both Devices Are on the Same Network
Sometimes Windows is on 5 GHz and the printer is on 2.4 GHz—use the same network band.
✔ Disable VPN or Firewall Temporarily
These may block printer discovery.
✔ Reinstall Brother Drivers
Incorrect drivers can prevent proper connection.
Conclusion
Setting up a Brother printer on Wi-Fi in Windows 11 is simple when you follow the right steps. With your printer connected wirelessly, you can enjoy easy, cable-free printing from anywhere in your home or office.