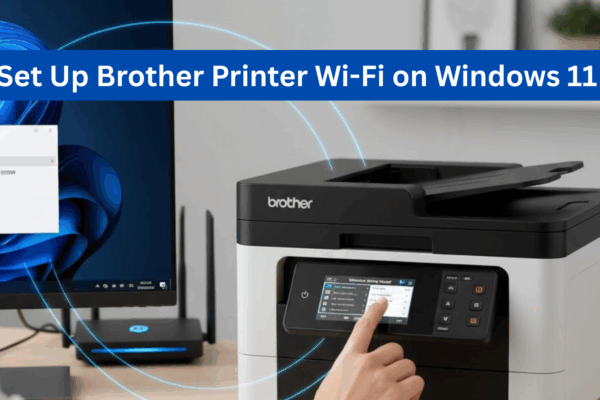
If you’re looking to connect your Brother printer to WiFi, you’re in the right place. In today’s digital age, wireless printing offers unmatched convenience, mobility, and efficiency. When set up properly, it allows you to print from any device connected to the same network — no cables required. This comprehensive guide will walk you through the step-by-step process to hook up a Brother printer to WiFi, making it easy to enjoy seamless and flexible printing from your home or office.
Why Connect Your Brother Printer to WiFi?
Before we move to the process, let us first understand the importance of connecting your Brother printer to WiFi. You can: Print with the HP ePrint app. Open the HP ePrint app. Read more
- Print documents from multiple devices such as smartphones, laptops, and tablets.
- Avoid the clutter of cables, making your workspace cleaner.
- Print from anywhere within your WiFi range, without needing to physically connect to the printer.
Now, let’s move on to the step-by-step process of how to connect your Brother printer to WiFi.
Step 1: Prepare Your Brother Printer
Before starting the WiFi setup, ensure that:
- Your Brother machine has its power turned on.
- The WiFi network you are joining is functioning properly and available.
- You have the name (SSID) and password for your WiFi network handy.
Step 2: Access the Printer’s Control Panel
To start Brother printer WiFi setup, you can proceed as follows:
- On the control panel of your printer, click on the Menu button.
- Press the arrow down to select Network and press OK.
- Choose WLAN (Wireless LAN) and then select Setup Wizard.
3: Select Your WiFi Network
- Your Brother printer will begin searching for available WiFi networks. After the list appears, you can use the arrow keys to select your WiFi network (SSID).
- If your network SSID is hidden, choose Other and enter the name of your network.
4: Enter WiFi Password
- Once the network is chosen you will be asked to input password for WiFi. Enter your password through the control panel of the printer.
- Tap OK to approve, and connect the printer to your network.
5: Confirmation
In a couple of seconds, your Brother printer will show that it is connected to your WiFi network. If it doesn’t, you might need to ensure that both your network and printer settings are correct or power cycle both the printer and router.
Step 6: Install the Printer on Your Devices
After your printer is connected to Wi-Fi, you’ll need to add it to some of your devices for wireless printing. Here’s how to do it for various devices:
Windows:
- Go to Settings > Devices > Printers & Scanners.
- Click Add a printer or scanner.
- Select your Brother printer from the list and follow the prompts to complete the installation.
macOS:
- Go to Apple Menu > System Preferences > Printers & Scanners.
- Click the + button to add a printer.
- Select your Brother printer from the list and follow the installation steps.
Mobile Devices:
- ownload and install the Brother iPrint&Scan app from the Google Play Store or Apple App Store.
Open the app and follow the instructions to connect to your Brother printer.
Troubleshooting Tips for Connecting Your Brother Printer to WiFi
If you’re having trouble connecting your Brother printer to WiFi, here are a few tips to help:
- Make sure your printer and router are not too far from each other.
- Restart your printer and router to resolve network-related issues.
- Check for firmware updates for your printer on the Brother website.
Conclusion
It’s easy to connect your Brother printer to Wi-Fi, and by doing so, you will be able to make the most of its wireless printing capabilities. Whether you’re at home or at the office, wireless connectivity provides the mobility and comfort that you need.